
Blooming
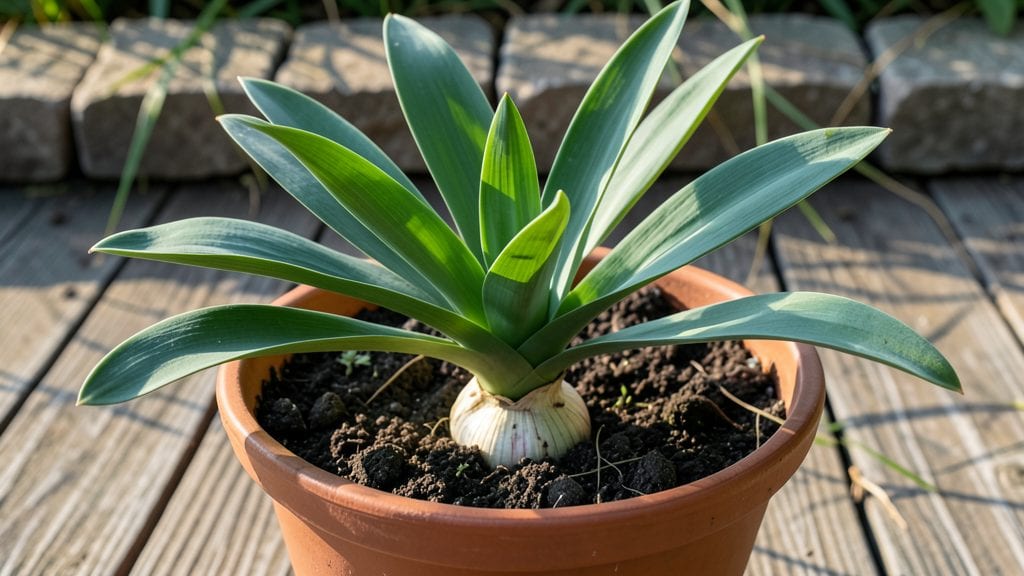
Harvesting allium greens before flowering unlocks a bold, pungent flavor that transforms your dishes from ordinary to extraordinary 🌷.
Did you know that allium plants—like garlic, onions, and chives—produce edible greens before they flower? These nutrient-packed shoots add a bold, pungent flavor to dishes and can be harvested multiple times per season.
Most gardeners overlook this stage, focusing only on the dramatic blooms that come later. But the secret to a flavorful harvest lies in the early growth—when the greens are tender and packed with nutrients.
In this guide, I’ll show you exactly how to spot the perfect time to harvest, which allium varieties deliver the best greens, and how to avoid common mistakes that ruin your crop—so you can enjoy fresh, homegrown flavor all spring long.
How to identify and harvest allium greens before flowering
Harvesting allium greens before flowering is one of my favorite gardening tricks—it extends the harvest season and delivers those signature onion-y flavors without waiting for bulbs. The key lies in recognizing the pre-flowering stage and knowing exactly which parts to cut.
Unlike mature bulbs, these young shoots regrow quickly, giving you multiple harvests per season if done correctly.
Allium greens thrive when you harvest them at the right time—typically when they reach 6-12 inches tall but before the flower stalk (scape) fully elongates. This stage ensures the plant stays healthy and keeps producing new growth.
If you wait too long, the plant diverts energy to flowering, reducing future harvests. Let’s break down how to spot these edible shoots and harvest them like a pro.
Step-by-Step Guide to Harvesting Allium Greens
- Step 1: Identify the plant stage: Look for straight, hollow stems with long, thin leaves. These are your edible greens. Avoid cutting leaves that are yellowing or wilted—they’re past their prime.
- Step 2: Use sharp scissors or pruners: Cut the greens 1-2 inches above the base to encourage regrowth. Avoid tearing leaves, which can damage the plant and invite pests like onion flies.
- Step 3: Harvest in the morning: Greens are most crisp and flavorful after a night’s dew has evaporated. This also reduces stress on the plant, helping it recover faster.
- Step 4: Leave at least 3-4 leaves per plant: Never remove more than one-third of the foliage at a time. This ensures the plant has enough energy to regrow and produce future harvests.
- Step 5: Stop harvesting when flower stalks appear: Once you see a thick, upright scape emerging, it’s time to pause cutting. Allow the plant to flower and set seed—this replenishes the bulb for next year’s harvest.
One of my biggest mistakes early on was harvesting too aggressively, which left my chives and garlic greens looking ragged and stunted. I learned that patience and moderation are key—think of it like pruning a shrub.
You want to encourage bushier, healthier growth, not strip the plant bare. For garlic greens, for example, I now limit myself to two cuts per season to keep the bulbs strong.
Not all allium greens are created equal. Chives and Welsh onions are the most forgiving, regrowing quickly even after heavy cuts. Garlic greens, on the other hand, are more delicate—over-harvesting can weaken the bulb below.
If you’re growing ornamental alliums (like the stunning purple blooms), focus on preserving the plant’s energy for its showstopping flowers rather than harvesting greens.
To maximize your harvest, pair this technique with regular fertilization. A balanced 5-10-10 fertilizer applied in early spring gives your alliums the nutrients they need to bounce back after cutting.
I also mulch around the base with compost or straw to retain moisture and suppress weeds, which compete for nutrients. This simple step has doubled my greens production over the years!
If you’re new to growing alliums, start with easy-to-harvest varieties like common chives or green onions. These tolerate frequent cutting and are perfect for beginners. Once you’re comfortable, experiment with hardneck garlic or leeks, which offer more robust flavors but require a gentler touch.
Pro tip: Label your plants! Some alliums look alike, and you’ll want to avoid accidentally harvesting the wrong variety.
After harvesting, store the greens in the fridge for up to 5 days or freeze them in ice cube trays for later use. I love adding them to salads, soups, or stir-fries for that signature onion kick.
The fresher they are, the more vibrant their flavor—so harvest just before you plan to use them. And remember, the more you harvest, the more your plants will reward you with lush, flavorful greens all season long.
Finally, keep an eye out for pests and diseases. Allium greens can attract onion flies or develop fungal issues like downy mildew if the foliage stays too wet. Rotate your crops annually and practice good garden hygiene to keep your plants thriving.
With these tips, you’ll be harvesting bold, homegrown allium greens like a seasoned gardener in no time!
Top 5 allium varieties for edible greens (before flowering)
When growing allium varieties for their edible greens, timing is everything. The best varieties produce tender, flavorful shoots before flowering, giving you multiple harvests per season. From mild chives to bold garlic greens, each type offers unique flavor profiles and growth habits that suit different gardeners.
Not all alliums thrive equally for greens—some bolt quickly, while others regrow vigorously. My top picks balance ease of cultivation, harvest frequency, and culinary versatility. Whether you're a beginner or seasoned gardener, these varieties deliver consistent results with minimal fuss.
🌱 Allium Greens Performance Rating
Garlic greens top the list for their bold, garlicky flavor and long harvest window. I plant hardneck varieties like 'Silverskin' in early spring—they send up tender shoots that regrow after each cut. Just avoid harvesting when the plant sends up its flower stalk, as this signals the end of the green harvest season.
Chives come in second for their mild onion flavor and perennial nature. My clumps of common chives produce continuous harvests all season, even in partial shade. Snip the outer stems to encourage bushier regrowth, and watch them bounce back in just 2-3 weeks.
Welsh onions (also called multiplier onions) earn third place for their quick regrowth and versatile flavor. I grow them in containers—they form clusters of green onions that you can snip repeatedly. Their mild, slightly sweet taste makes them perfect for salads and stir-fries.
Fourth on the list are leeks, which require more patience but reward with tender, mild greens. I plant short-day varieties like 'King Richard' in late summer for a fall harvest. Their slender stems grow quickly, and you can harvest the outer leaves without damaging the plant.
Rounding out the top five are Egyptian onions, prized for their sweet, mild flavor and heat tolerance. These bunching onions grow best in warm climates and produce long, hollow stems that are perfect for garnishes. I harvest them early to avoid bitterness as they mature.