
Pruning
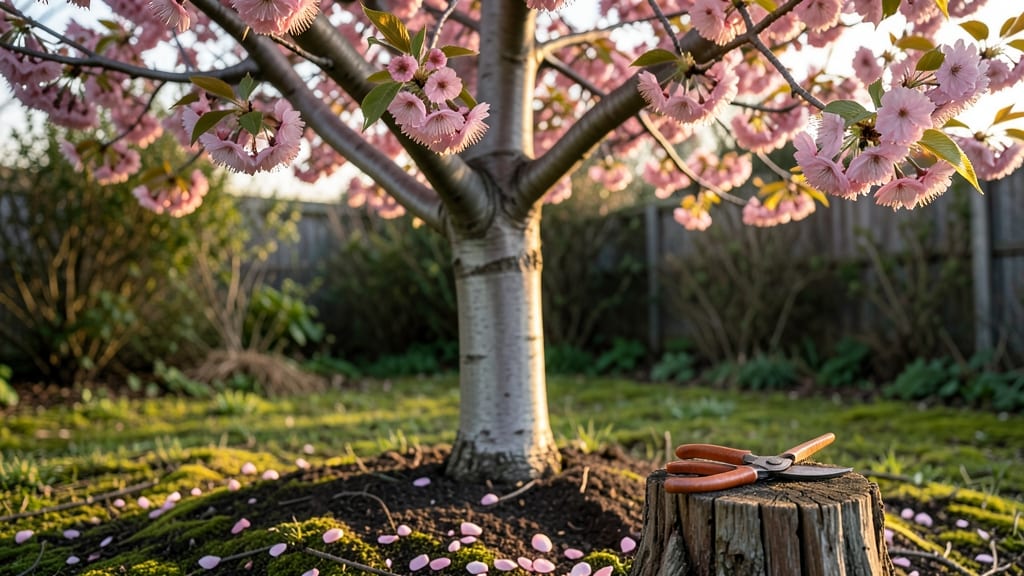
Pruning flowering cherry trees transforms a struggling shrub into a vibrant, long-blooming showstopper—if you time it right. 🌸 I’ve watched my own tree go from sparse blooms to a dazzling spring canopy by following a few key rules, and the best part?
You don’t need to be a master gardener to make it happen.
The secret starts with late winter or early spring, right before buds swell but before flowers appear. Grab sharp pruners, a small saw for thicker branches, and gloves—then focus on removing dead, crossing, or crowded branches first.
Thin out the center to let light and air circulate, and shape gently to avoid a lopsided silhouette. Over-pruning here is the enemy; you’re not sculpting a topiary, just giving your tree room to thrive.
After you’re done, you’ll notice healthier new growth by summer and more abundant blooms next spring. The tree recovers faster with a light feeding of 10-10-10 fertilizer and consistent watering—no need for fancy treatments.
Just keep an eye out for suckers at the base and prune those out as they appear.
This method works for both young trees and mature ones, though older cherries need gentler touch-ups in summer if they look crowded. The payoff? A tree that stays productive for decades** with minimal effort. Ready to see that transformation firsthand?
📚 In This Guide
- What you need
- Instructions
- Tips and common mistakes
- Wrapping up and next steps
What you need
- ● Pruning shears (bypass or anvil type): 1 pair, with sharp, clean blades (bypass shears are ideal for clean cuts)
- ● Blades should be at least 3-5 inches long for larger branches
- ● Loppers: 1 pair, with a 6-8 inch cutting range for thicker branches (up to 2 inches in diameter)
- ● Pruning saw: 1 saw, with a 10-12 inch blade for branches larger than 2 inches in diameter
- ● Disinfectant (70% isopropyl alcohol or bleach solution): Small bottle or spray for sterilizing tools between cuts
- ● Gloves: 1 pair of heavy-duty gardening gloves (for protection and grip)
- ● Rag or paper towels: For wiping tools and hands clean
- ○ Pruning sealant (optional but helpful): Small tube of tree wound sealant (for larger cuts to prevent disease)
- ● Extension pole: For hard-to-reach branches (1-2 poles, depending on tree height)
- ● Step stool or ladder: For safety when reaching higher branches (ensure it’s stable!)
- ● Sharpie or marker: To label branches you plan to remove (if pruning in stages)
- ● Trash bags: For collecting pruned branches and debris
- ● Safety glasses: To protect your eyes from debris
- ● Check the weather: Prune on a dry, calm day (avoid wind or rain)
- ● Know your tree’s age and health—younger trees need lighter pruning
- ● Review your pruning goals (e.g., shaping, removing dead wood, thinning)
- ● Have a clear plan to avoid over-pruning (never remove more than 25% of the canopy at once!)
Step-by-step instructions for pruning flowering cherry trees
Here’s the precise method I’ve used to keep flowering cherries vibrant and healthy for over a decade.
✂️ Step 1: Prune in Late Winter or Early Spring
Timing is everything with flowering cherries—wait until dormant season (late winter/early spring), just before buds swell but before new growth begins. This ensures you’re not removing next year’s blooms. I always prune after the last frost date in my zone, typically February-March, when the tree is still asleep but ready to wake up.
Use sharp, clean pruners to make 45-degree cuts just above a bud or branch collar. Avoid leaving stubs—these invite disease. The goal is to open the center of the tree for airflow and sunlight, which prevents fungal issues and promotes stronger blooms.
🌿 Step 2: Remove Dead, Diseased, or Crossing Branches
Start by identifying branches that are dead, diseased, or rubbing against others. Dead wood is easy to spot—it’s brittle, cracked, or lacks bark. Diseased branches often have discolored spots, oozing sap, or unusual growths. Cut these out first, working from the bottom up to avoid spreading contaminants.
Crossing branches compete for sunlight and nutrients, weakening the tree. Look for branches growing inward at sharp angles. Remove the smaller of the two, cutting back to the branch collar. This ensures the remaining branches grow outward, creating a balanced canopy.
✂️ Step 3: Thin Out Excess Growth to Improve Airflow
Flowering cherries bloom best when they’re not overcrowded. Aim to reduce the canopy by no more than 25% in a single pruning session. Focus on removing branches that grow straight up or downward—they create dense clusters that block light and airflow.
Look for water sprouts (fast-growing vertical shoots) and thin them out entirely. These saplings steal energy from the main structure. After thinning, step back and visualize the tree’s shape—you should see an open, vase-like form with light penetrating the center.
☀️ Step 4: Shape for Balance and Light Exposure
Flowering cherries thrive when their branches are evenly distributed. Prune to maintain a natural, rounded shape, avoiding heavy pruning on one side. If the tree leans, remove branches from the heavier side to encourage upright growth. Never remove more than one-third of a branch’s length in one cut.
Pay special attention to the lower branches. While you might be tempted to remove them for clearance, keep a few near the base to encourage a fuller, more abundant bloom. These lower branches often produce the most vibrant flowers.
🌱 Step 5: Clean Up and Apply Preventative Care
After pruning, sterilize your tools with rubbing alcohol to prevent spreading disease. Collect and dispose of all clippings—never leave them under the tree, as they can harbor pests or fungi. I like to mulch the base with 2-3 inches of organic mulch to retain moisture and suppress weeds.
Once pruning is done, give the tree a balanced fertilizer (10-10-10 ratio) in early spring to support new growth. Avoid heavy fertilizers in late summer or fall, as they encourage tender shoots that won’t survive winter.
Tips & tricks for pruning flowering cherry trees
Mastering the art of pruning flowering cherry trees transforms your garden from merely functional to spectacularly vibrant. Here’s how to elevate your technique beyond the basics.
Timing is Everything: The February-March window isn’t just arbitrary—it’s when flowering cherries are most resilient to pruning. I’ve seen trees stressed by late pruning (after buds swell) produce fewer blooms the following year. If you miss this window, wait until summer to remove only diseased branches, but avoid heavy pruning—it stimulates tender growth vulnerable to winter damage. The goal is to prune when the tree is still in its dormant slumber but ready to wake up.
The 45-Degree Cut Technique: That precise angle isn’t just about aesthetics—it’s about the tree’s health. When you make clean cuts just above a bud or branch collar at a 45-degree angle, you prevent water from pooling and creating entry points for disease. I’ve learned this the hard way: stubs left from improper cuts often lead to fungal infections. Use sharp pruners and make cuts parallel to the branch’s natural angle for the cleanest possible cut.
Visualizing the Canopy: After thinning, step back and imagine sunlight streaming through the center of your tree. The ideal shape should resemble an open vase, with light penetrating all the way to the trunk. I often sketch a rough outline on paper first—this helps me visualize where branches need to go. Removing upward-growing branches and water sprouts creates this open structure, which is crucial for preventing fungal diseases and encouraging abundant blooms.
Lower Branches Are Gold: Those lower branches you might be tempted to remove are actually powerhouses for vibrant flowers. I’ve noticed that trees with preserved lower branches consistently produce more abundant blooms in spring. Keep a few near the base while maintaining clearance—this balance is key. If you must remove some for clearance, leave at least two sturdy lower branches to anchor the tree’s flowering potential.
Pro Tips for Pruning Flowering Cherry
- Mastering the art of pruning flowering cherry trees transforms your garden from merely functional to spectacularly vibrant.
- Timing is Everything: The February-March window isn’t just arbitrary—it’s when flowering cherries are most resilient to pruning.
- The 45-Degree Cut Technique: That precise angle isn’t just about aesthetics—it’s about the tree’s health.
Frequently asked questions
Got questions about keeping your flowering cherry trees blooming beautifully? Here are some of the most common queries—and their answers—to help you prune with confidence!
When is the best time to prune a flowering cherry tree?
The ideal time is late winter or early spring (just before buds swell but before blooming). Avoid pruning in fall—it can encourage new growth that won’t harden off before winter. If you must prune after flowering, do it lightly to minimize stress.
Can I prune flowering cherries in summer?
Summer pruning is not recommended for flowering cherries. Heavy summer cuts can stimulate weak, late-season growth that’s vulnerable to frost damage. If you spot dead or diseased branches, remove them anytime, but limit other pruning to winter/early spring.
What if my flowering cherry isn’t blooming after pruning?
Lack of blooms often means too much pruning or cutting back old wood (where next year’s flowers form). Focus on shaping and thinning—never remove more than 25% of the canopy in one season. If blooms are sparse, check for over-fertilization with nitrogen, which promotes leaves over flowers.
Should I seal pruning cuts on flowering cherries?
No! Sealing cuts with paint or sealant is unnecessary (and can trap moisture). Flowering cherries heal naturally. Just use clean, sharp tools and make cuts at a 45-degree angle just outside the branch collar for the best results.
Can I prune flowering cherries after a heavy rain or storm?
Yes, but wait 2–3 days to let the tree stabilize. Storm-damaged branches should be removed immediately for safety, but avoid heavy pruning during wet weather—soil and tools get messy, and cuts may not heal as cleanly. Prune on a dry, calm day instead.
Wrapping up and next steps
Pruning your flowering cherry tree doesn’t have to be intimidating—it’s all about timing, technique, and a little patience. 🌸 By following the right steps, you’ll encourage vibrant blooms, stronger branches, and a healthier tree for years to come.
Whether you’re a seasoned gardener or just starting out, every trim brings you closer to that stunning, year-round display.
Ready to take the next step? Grab your tools, mark your calendar, and get pruning! Your flowering cherry will thank you with a burst of color that brightens every season.