
Shrubs
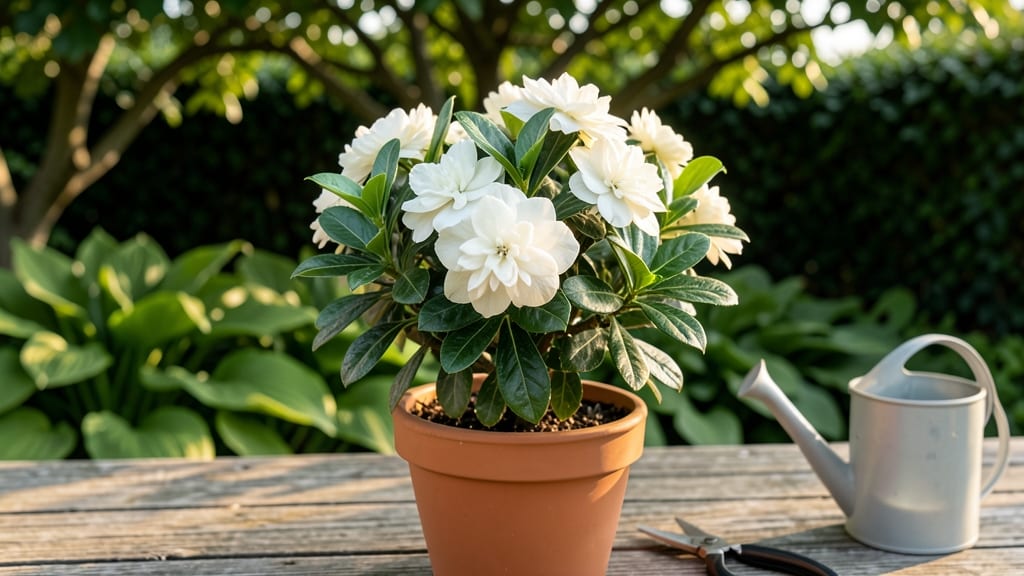
Low flowering bushes are the unsung heroes of any garden—adding color, texture, and life to borders, pathways, and containers without stealing the spotlight from taller plants. ✨ I’ve filled my own garden with these compact beauties, and they’ve transformed dull spaces into vibrant, buzzing hubs for pollinators.
The best part? They’re low-maintenance, so you get stunning results with minimal effort.
Think Ajuga with its striking purple foliage and forget-me-not blooms, Heuchera that bursts with jewel-toned leaves, or Dwarf Hydrangeas that spill over pots in soft pink or blue. These plants stay under 3 feet tall, making them perfect for edging driveways, framing flower beds, or cascading in containers.
They bloom from spring through fall, and some even offer winter interest with seed heads or evergreen foliage.
You’ll love how they draw bees, butterflies, and hummingbirds into your garden while keeping a tidy, polished look. Plant them in groups for maximum impact, or mix heights and textures for a layered, natural feel.
The key is choosing varieties that thrive in your light conditions—most do well in partial shade, but a few, like Dwarf Butterfly Bush, crave full sun.
Once established, these bushes need little more than occasional pruning and watering. I’ve had the same Ajuga plants thriving in the same spot for five years with almost no care. Here’s how to pick the perfect ones for your space and style—without the overwhelm.
📚 In This Guide
- What you need
- Instructions
- Tips and common mistakes
- Wrapping up and next steps
What you need
- ● Low flowering bushes: Choose 3–5 varieties (e.g., Dwarf Butterfly Bush (Buddleia davidii), Creeping Thyme (Thymus serpyllum), or Dwarf Lilac (Syringa meyeri)). Buy 1–3 plants per variety, depending on desired coverage.
- ● High-quality potting soil: 5–10 gallons (or enough to fill planting holes). Opt for a mix amended with compost for better drainage.
- ● Organic fertilizer: Slow-release granules (e.g., 10-10-10 or a pollinator-friendly blend) or liquid feed for immediate nutrients.
- ● Mulch: 2–3 bags of shredded bark or pine straw to retain moisture and suppress weeds.
- ● Pruning shears: Sharp, bypass-style shears (or a small pruning saw for thicker stems).
- ● Garden gloves: Heavy-duty for protection against thorns or rough foliage.
- ● Watering can or hose: With a gentle spray nozzle for post-planting hydration.
- ● Measuring tape or ruler: To ensure proper spacing (typically 2–4 feet apart, depending on the bush type).
- ● Erosion control fabric: For sloped areas to prevent soil runoff.
- ● Pollinator-friendly companion plants: Native wildflowers or herbs (e.g., lavender, bee balm) to attract bees and butterflies.
- ● Slow-release watering spikes: For drought-prone areas (place 1–2 per bush).
- ● Garden stakes or labels: To mark new plantings and track varieties.
- ● Soil pH test kit: To check if your soil needs amendments (e.g., lime for acidity).
Step-by-Step guide to planting low flowering bushes for year-round pollinator appeal
Here's how to create a vibrant, pollinator-friendly landscape that blooms from spring through frost.
🌱 Step 1: Select and Prepare Planting Sites for Diverse Species
Choose four low-growing shrubs with staggered bloom times—like dwarf butterfly bush, creeping phlox, and abelia—to ensure continuous color. Test soil pH (most pollinator plants thrive in 6.0-7.0) and amend with 2 inches of compost mixed into the top 12 inches of soil. I dig a hole twice as wide as the root ball but only as deep—planting too deep suffocates roots and causes stress.
Space plants 2-3 feet apart for air circulation, which prevents fungal diseases like powdery mildew. The reason we space them this way is that crowded plants compete for nutrients and attract pests. Mark each planting spot with a stake to avoid misplacement when digging.
☀️ Step 2: Plant at the Right Depth and Water Thoroughly
Place each bush in its hole so the top of the root ball sits 1 inch above ground level. Backfill with native soil mixed with 1 cup of bone meal for phosphorus (critical for root development). Press gently around the base to eliminate air pockets, then water immediately with 1 gallon of water per plant to settle the soil.
Mulch with 3 inches of shredded bark around (but not touching) the stem to retain moisture and regulate soil temperature. I always water again after mulching to help it settle properly. Avoid heavy mulch piles—this smothers stems and invites rot.
💧 Step 3: Establish a Watering Routine for First-Year Resilience
Water deeply twice weekly for the first month, then taper to once weekly once new growth appears. You'll know you're watering correctly when the top 2 inches of soil feel moist but not soggy. Overwatering in the first year causes root rot, which is irreversible.
Add ½ cup of 10-10-10 fertilizer to the soil around each plant at 6 weeks and again at 12 weeks to encourage robust growth. I use a slow-release formula to avoid nutrient spikes that burn tender roots. Monitor for yellowing leaves—this usually means either overwatering or nutrient deficiency.
✂️ Step 4: Prune for Shape and Encourage Continuous Blooms
Prune right after flowering to shape bushes and promote next year's blooms. Cut back ⅓ of the oldest stems to the ground each year to rejuvenate growth. I always sterilize pruners with rubbing alcohol between cuts to prevent disease spread.
Remove spent flowers regularly (deadheading) to prevent seed formation and redirect energy into new blooms. For spring-blooming varieties, prune immediately after flowering—waiting too long removes next year's flower buds. Wear gloves when handling abelia; its leaves contain milky sap that can irritate skin.
🪴 Step 5: Maintain Seasonal Care for Pollinator Success
In spring, apply 1 inch of compost** around the base and water deeply. Summer requires only occasional watering unless rainfall is scarce—drought-tolerant varieties like lavender handle dry spells beautifully. In fall, reduce watering as growth slows but keep soil moist enough to prevent winter desiccation.
Watch for pollinators! You'll see bees, butterflies, and hummingbirds within weeks of planting. If you notice fewer visitors, check for pesticides—even residual garden chemicals can repel pollinators. I've found that planting in clusters of the same species attracts more wildlife than scattered individual plants.
Tips & tricks for perfect low flowering bushes
Creating a thriving pollinator garden takes more than just planting—it's about the details that make all the difference. Here's what I've learned from years of nurturing these stunning low-growing shrubs.
Soil Preparation: The 6.0-7.0 pH range mentioned in Step 1 is crucial for nutrient uptake, but don't stop there. I always add a handful of worm castings to the bottom of each planting hole for extra microbial activity. These beneficial organisms help roots establish faster and create a healthier soil ecosystem. The 2 inches of compost in the top 12 inches of soil should be thoroughly mixed—don't just layer it on top, or you'll create a barrier that roots can't penetrate.
Planting Depth: That 1-inch above ground level guideline in Step 2 is non-negotiable—planting too deep suffocates roots by preventing oxygen from reaching them. I use a level to ensure perfect positioning. For extra insurance, I always check the root flare (where roots meet stem) is visible above the soil line. If you're planting multiple bushes, use a string line to maintain that 2-3 feet spacing—crowded plants compete for resources and attract pests like aphids.
Watering Wisdom: The twice weekly watering in Step 3 should be done in the early morning to prevent fungal diseases. I use a rain gauge to measure exactly 1 inch of water per week—this ensures proper hydration without oversaturating. For the first month, I actually check soil moisture with a moisture meter rather than guessing. The 2 inches of moist soil guideline is perfect, but remember that sandy soils dry out faster than clay soils.
Pruning Precision: When cutting back ⅓ of the oldest stems in Step 4, always make clean cuts just above a leaf node or bud. I use sharp, sterilized pruners and make cuts at a 45-degree angle to increase surface area for water uptake. For abelia specifically, wear those gloves—its milky sap can cause skin irritation. And here's a pro tip: save your pruned stems! Dry them and use as winter interest in arrangements.
Pro Tips for Low Flowering Bushes
- Creating a thriving pollinator garden takes more than just planting—it's about the details that make all the difference.
- Soil Preparation: The 6.0-7.0 pH range mentioned in Step 1 is crucial for nutrient uptake, but don't stop there.
- Planting Depth: That 1-inch above ground level guideline in Step 2 is non-negotiable—planting too deep suffocates roots by preventing oxygen from reaching them.
Frequently asked questions
Got questions about low flowering bushes?
You’re not alone! Whether you’re planning a pollinator garden or troubleshooting a fussy plant, here are answers to the most common queries to help you grow with confidence.
What’s the best low flowering bush for full sun exposure?
For full sun, consider Dwarf Butterfly Bush (Buddleia davidii) or Abelia (Abelia x grandiflora). Both thrive in hot, sunny spots with minimal shade and offer long bloom seasons. Just ensure well-draining soil to prevent root stress.
When is the ideal time to plant low flowering bushes?
Plant in early spring (after the last frost) or fall (4-6 weeks before the first frost). This gives roots time to establish before extreme temperatures. Avoid planting in summer heat or winter freezes—both can shock young plants.
Are low flowering bushes good for attracting pollinators?
Many low-growing varieties like Dwarf Coneflower (Echinacea) or Creeping Phlox (Phlox subulata) are pollinator magnets. Choose native species when possible—they’re the most effective at supporting bees, butterflies, and hummingbirds.
How often should I water low flowering bushes?
Water deeply once a week (or more in extreme heat) during the first year to encourage root growth. Mature bushes usually need water only during droughts. Mulch around the base to retain moisture and reduce evaporation.
What do I do if my low flowering bush isn’t blooming?
Check for these common issues:
- Over-fertilizing with nitrogen (promotes foliage over flowers—use a balanced 10-10-10 fertilizer instead).
- Poor sunlight (most need 6+ hours of sun daily).
- Deadheading (remove spent blooms to encourage new growth).
- Age or stress (older bushes may need rejuvenation pruning).
Can I prune low flowering bushes year-round?
Prune after flowering (late summer/fall) for most varieties to shape and promote next year’s blooms. Avoid heavy pruning in late winter—some bushes (like Abelia) bloom on old wood and may skip flowers if cut back too early.
Wrapping up and next steps
Low flowering bushes are the perfect way to add year-round charm and pollinator support to your garden with minimal fuss. Whether you’re drawn to their hardy nature, vibrant blooms, or eco-friendly benefits, these plants make gardening effortless—and rewarding! 🌸🐝
Ready to transform your outdoor space? Start small: pick one or two varieties, test them in your climate, and watch your garden thrive. Happy planting! 🌱