
Tools
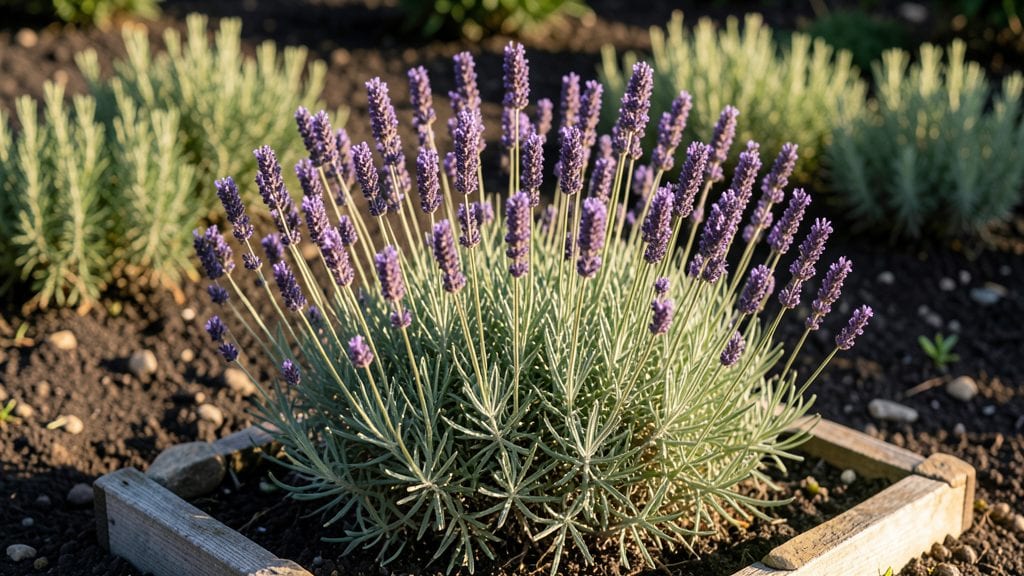
A flower garden layout that blooms from spring to frost isn't about luck—it's about pairing plants that love the same conditions and share the spotlight. 🌸 I designed my first one after three years of patchy color, and now it's a nonstop parade of blooms that neighbors stop to admire.
The secret lies in grouping plants by height, color families, and bloom times so no season feels bare.
Start with a simple sketch of your space, noting sunlight patterns and existing features like fences or trees. You'll need a mix of annuals for instant color, perennials for structure, and shrubs for height—think of them as the backbone, branches, and leaves of your garden's story.
For small spaces, even a 4-foot-by-4-foot bed can hold 12-15 plants if you choose compact varieties like dwarf coneflowers or miniature roses.
By the time summer fades, your garden will shift seamlessly from early spring tulips to midseason peonies and finally to late-blooming asters, with fillers like salvias and black-eyed Susans bridging the gaps.
The key is to layer plants so tall varieties don't block sunlight from shorter ones, and to repeat colors every 3-4 feet for visual harmony. Even my black thumb can't kill this plan.
This works for formal borders, wildflower meadows, or anything in between—just adjust the spacing and plant choices to match your style. The first year takes planning, but after that, it's mostly watching nature do the work. Ready to sketch your own masterpiece?
📚 In This Guide
- What you need
- Instructions
- Tips and common mistakes
- Wrapping up and next steps
What you need
- ● Flowering plants: Choose a variety of seasonal bloomers (e.g., tulips, daisies, petunias, salvia, coneflowers, and black-eyed Susans). Aim for 12–20 plants total, balancing colors and bloom times.
- ● Mulch: 2–3 bags (1–2 inches thick) of organic mulch (e.g., shredded bark or straw) to retain moisture and suppress weeds.
- ● Soil amendments: 1 bag of compost or slow-release fertilizer (e.g., 10-10-10) to enrich the soil.
- ● Garden gloves (1 pair) – for comfort and protection.
- ● Hand trowel – for precise planting.
- ● Pruners (1 pair) – for trimming and shaping.
- ● Watering can or hose with a gentle spray nozzle.
- ● Measuring tape or string – to mark out your layout flower garden design.
- ○ Stakes or labels (optional) – to track plant names and care needs.
- ● A sunny to partially sunny spot (6+ hours of sunlight daily for most flowers).
- ● Well-draining soil (amend with compost if needed).
- ● Access to water (garden hose or irrigation system).
- ○ Optional: A sketch of your layout flower garden design for visual planning!
How to design a flower garden layout for continuous seasonal color
Here's my go-to approach for creating a vibrant, low-maintenance flower garden that blooms from spring through fall.
🌱 Step 1: Plan Your Garden's Sun and Soil Zones
First, walk your garden space at different times of day to map out sun exposure. Note areas with full sun (6+ hours), partial shade (3-6 hours), and deep shade (less than 3 hours). This determines where to place sun-loving blooms like coneflowers versus shade-tolerant options like impatiens.
Next, test your soil's drainage by digging a 6-inch deep hole and filling it with water. If it drains in less than 30 minutes, your soil is well-draining. If water remains after an hour, amend with 2-3 inches of compost or consider raised beds. Healthy soil means healthier plants and fewer color gaps.
☀️ Step 2: Group Plants by Height and Bloom Time
Start with your tallest plants (3-4 feet) like delphiniums or black-eyed Susans at the back or center. These act as your garden's backbone, providing vertical interest. Next, add mid-height plants (1-3 feet) such as daylilies or phlox around them. Finally, fill the front with short bloomers (under 1 foot) like pansies or sweet alyssum.
For continuous color, stagger bloom times. Plant early spring bloomers like tulips alongside summer favorites like zinnias, and add fall-blooming asters or chrysanthemums. This ensures your garden never looks bare. I like to sketch a simple layout first—it saves time and prevents overcrowding.
🌿 Step 3: Create Focal Points and Pathways
Place a single standout plant—like a striking ornamental grass or a bold hydrangea—at the garden's center or along pathways. This draws the eye and adds drama. Surround it with complementary colors, like purple salvia paired with white daisies, to create visual harmony.
Add 3-4 inches of mulch around plants to suppress weeds and retain moisture. Use a light-colored mulch like straw or pine bark for a clean look, or opt for dark shredded bark to warm the soil. Avoid piling mulch against plant stems—keep it 2 inches away to prevent rot.
✂️ Step 4: Space Plants for Airflow and Growth
Check the mature width of each plant (listed on seed packets or plant tags) and space them accordingly. For example, place daylilies 18-24 inches apart and coreopsis 12-18 inches apart. Proper spacing prevents overcrowding, which leads to disease and weak blooms.
Leave 12-18 inches of open space between plant groups to allow for easy maintenance. This also lets you rotate plants in future seasons without disturbing the entire garden. I always leave a 6-inch border around the garden's edge for tools and watering access.
💧 Step 5: Water and Maintain for Long-Term Beauty
Water deeply 2-3 times per week in the first month to establish roots, then taper to once a week once established. Early morning is best—watering in the evening can invite fungal diseases. You'll know your garden is hydrated when the top 2 inches of soil feel moist but not soggy.
Deadhead spent blooms regularly to encourage more flowers and prevent self-seeding weeds. I set aside 10 minutes every Sunday for this task—it keeps the garden looking fresh and blooming longer. Fertilize lightly in early spring and mid-summer with a balanced 10-10-10 formula to support steady growth.
Tips & tricks for perfect flower garden layouts
Creating a stunning flower garden that blooms all season takes a few clever tricks you won't find in basic guides.
Sun Exposure Secrets: I've learned the hard way that not all sun is created equal. The 6+ hours of full sun mentioned in Step 1 should be direct morning sun—afternoon sun can scorch delicate blooms. For partial shade areas, look for dappled sunlight patterns where plants get morning sun and afternoon shade. This creates microclimates where different plants thrive without competing.
Soil Test Shortcut: That 6-inch deep hole test in Step 1 works, but here's the pro move: Use a simple $5 soil moisture meter instead of guessing. Stick it in after watering—if it reads "dry" after 30 minutes, you've got good drainage. If it's still wet, you'll know exactly how much compost to add. I keep one handy for all my garden projects!
Color Theory Hacks: When pairing colors in Step 3, think beyond just complementary hues. Try analogous colors—shades next to each other on the color wheel like pink and purple—for a cohesive look. Or use triadic schemes—three colors evenly spaced on the wheel like red, yellow, and blue—for high-impact drama. My go-to combo? Purple salvia with white daisies and yellow coreopsis—it's foolproof!
Maintenance Time-Saver: That 10-minute Sunday deadheading routine in Step 5 actually works best if you do it every other day during peak bloom. Set a phone reminder for 10 minutes right after breakfast—it becomes a habit faster than you'd think. I also keep a small bucket nearby to collect spent blooms for compost. This keeps your garden looking fresh without the weekly chore feeling overwhelming.
Pro Tips for Layout Flower Garden
- Creating a stunning flower garden that blooms all season takes a few clever tricks you won't find in basic guides.
- Sun Exposure Secrets: I've learned the hard way that not all sun is created equal.
- Soil Test Shortcut: That 6-inch deep hole test in Step 1 works, but here's the pro move: Use a simple $5 soil moisture meter instead of guessing.
Frequently asked questions
Got questions about designing a stunning layout flower garden that blooms all season? You’re not alone! Here are answers to the most common queries to help you create a vibrant, low-maintenance garden that turns heads year-round.
What’s the best way to plan a flower garden layout for continuous color?
Layer plants by height (tall in back, medium midway, and short in front) and pair flowers with different bloom times—like tulips (spring), roses (summer), and chrysanthemums (fall). Add perennials for year-round structure, and use annuals to fill gaps. Pro tip: Sketch a rough map first to visualize sunlight and shade patterns!
When is the ideal time to start laying out a flower garden?
Spring (after the last frost) or early fall (4–6 weeks before frost) are the best times. This gives plants time to establish roots before extreme weather. For perennials, fall planting often yields stronger growth. Wait until soil is workable—don’t dig when it’s soggy or frozen!
Can I create a beautiful flower garden layout on a budget?
Start small with affordable perennials (like coneflowers or black-eyed Susans) and swap cuttings with neighbors. Use mulch to retain moisture and reduce weeds. Thrift stores or online auctions often have discounted garden tools. Bonus: Repurpose containers (old buckets, pallets) for vertical gardens!
How do I fix a flower garden layout that’s looking messy or overcrowded?
First, prune dead or leggy plants to encourage new growth. Pull weeds at the base to avoid disturbing roots. Rearrange clumps by dividing perennials in early spring or fall. If space is tight, edit ruthlessly—remove underperformers and replace them with better-suited varieties. A fresh mulch layer can also hide gaps temporarily.
What are some low-maintenance flower pairings for beginners?
Try these easy combos:
- Sunny spots: Lavender + Russian sage + sedum (drought-tolerant and fragrant)
- Partial shade: Hostas + astilbes + ferns (lush and shade-loving)
- Containers: Petunias + sweet potatoes + bacopa (spiller-thriller-filler combo)
These pairs thrive together with minimal fuss!
Wrapping up and next steps
Creating a stunning flower garden layout that blooms season after season is all about strategic planning and bold pairings—not just luck! 🌸 By layering plants with complementary heights, colors, and bloom times, you’ll enjoy a garden that feels alive year-round.
Start small, experiment with textures, and don’t forget to prioritize your space’s sunlight and soil needs.
Now that you’re armed with tips and tricks, it’s time to roll up your sleeves! Grab your sketchpad, pick your favorite blooms, and design a layout that reflects your style. Your dream garden is just a shovel’s throw away—happy planting! 🌱