
Landscaping
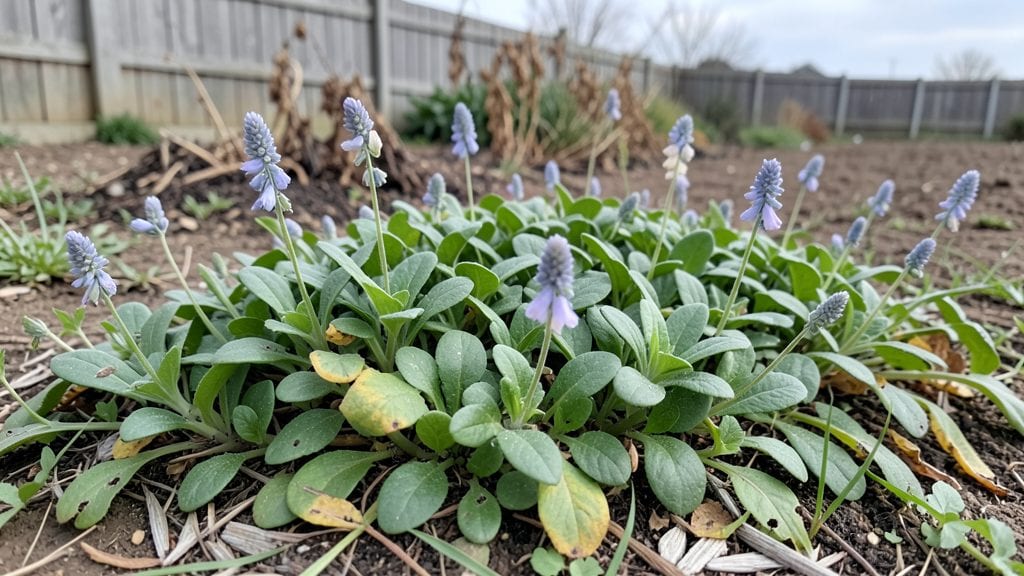
Creating a stepping stone flower bed transforms tired pathways into a buzzing pollinator paradise with color that lasts from spring to frost. 🌿 I designed mine after watching bees struggle to find forage in my old gravel walkway—now it’s a riot of purple ajuga, creeping thyme, and tiny white daisies that never need mowing.
You’ll need 12-inch pavers or bricks for the stones (I used recycled concrete for a rustic look), plus a mix of low-growing perennials and annuals that thrive in partial shade and well-drained soil.
The key is spacing: plant flowers 3–6 inches apart so they spill over the edges, filling gaps between stones with lush green and blooms.
By midsummer, your path will be a living carpet of color—deep blues, sunny yellows, and soft pinks—that hums with bees, butterflies, and beneficial insects. The flowers self-seed over time, reducing maintenance to just occasional weeding and deadheading. Even in drought years, the roots stay shallow and resilient.
This design works for cottage gardens, modern minimalist looks, or rustic farmhouse styles—just swap out the flowers. My favorite combo? Ajuga for ground cover, creeping phlox for height, and moss between stones to keep weeds out. Let’s get your pathway blooming!
📚 In This Guide
- What you need
- Instructions
- Tips and common mistakes
- Wrapping up and next steps
What you need
- ● Stepping stones (concrete, resin, or natural stone): 10–20 stones (depending on bed size; ~12" x 12" each for a 4' x 8' bed)
- ○ Optional: Pre-planted stones with wildflowers for instant color!
- ● Soil & amendments: 50 lbs of native soil or well-draining potting mix
- ● 10 lbs of compost or organic matter
- ● 5 lbs of perlite or sand (for drainage)
- ● Pollinator-friendly plants: Seedlings or plugs: Coneflowers, Black-eyed Susans, Milkweed, Lavender, or Salvia (6–12 plants per bed)
- ○ Optional: Native wildflower seeds for self-sustaining beds
- ● Tools: Garden shovel & trowel
- ● Wheelbarrow or bucket (for soil)
- ● Level & measuring tape
- ● Garden gloves & knee pads
- ○ Optional: String & stakes (to mark layouts)
- ● ✅ Location: Full sun (6+ hours/day) for most pollinator plants.
- ● ✅ Slope: Ensure a slight grade (1–2%) for drainage (no soggy stones!)
- ● 💡 Design tip: Space stones 12–18 inches apart for easy access to soil.
- ● 🌡️ Climate note: In colder zones, use resin stones (they won’t crack in freeze-thaw cycles).
Step-by-Step guide to designing stepping stone flower beds
Here's how I create vibrant, low-maintenance pollinator havens that blend seamlessly with any landscape.
🪴 Step 1: Plan Your Layout and Gather Materials
Start by sketching your design on graph paper, using each square to represent a 12-inch square stepping stone. I typically arrange them in winding paths or geometric patterns, leaving 18-24 inches between centers for easy movement. For a 4-serving project, you'll need about 20-25 stones total—enough to create a 4x5 foot bed with clear pathways.
Measure your chosen area carefully, accounting for both the stones and the surrounding plantings. I always mark the layout with spray paint first, then adjust until the pattern feels balanced. The key is creating visual interest while maintaining functional walkways—think of it as an organic mosaic rather than rigid rows.
🌱 Step 2: Prepare the Base and Install Stepping Stones
Excavate the marked area to a depth of 4-6 inches, removing any grass or weeds. I use a rubber mallet to tap each stepping stone into place, ensuring they sit flush with the surrounding soil level. For stability, I intersperse the stones with landscape fabric cut to fit between them, which prevents weeds from creeping up through the pathways.
Leave a 2-inch gap between each stone for drainage and root expansion. This spacing also creates natural pockets where you can later add wildflower seeds or low-growing perennials. I like to stagger the stones slightly for a more organic, meandering look—it breaks up the geometric pattern and feels more natural.
✂️ Step 3: Select and Plant Companion Flora
Choose plants that thrive in the same conditions as your stepping stones—typically full sun to partial shade and well-draining soil. For pollinator appeal, I mix in native wildflowers, lavender, and sedum, spacing them 6-12 inches apart around the edges. The goal is to create a seamless transition between stone and soil, so I avoid tall plants that might obscure the pathways.
Dig holes just deep enough to accommodate the root balls, then water thoroughly before backfilling with native soil. I always add a handful of compost to each hole to give the plants a nutrient boost. For a cohesive look, I stick to a color palette—this season, I'm using shades of purple, white, and yellow to attract bees and butterflies while keeping the design harmonious.
💧 Step 4: Establish Maintenance Routines
Water deeply once weekly during the first growing season, focusing on the soil around the plants rather than the stones themselves. I use a soaker hose to deliver moisture slowly, which prevents runoff and encourages deep root growth. Once established, these beds require minimal watering—just enough to keep the soil from drying out completely.
Mulch annually with 2-3 inches of shredded bark or pine needles to suppress weeds and retain moisture. I apply mulch in early spring, just as the plants begin to wake up. This also helps regulate soil temperature, which is especially important in hot climates where stepping stones can get scorching. A light layer of gravel around the edges keeps mulch contained and defines the bed's borders.
☀️ Step 5: Monitor and Refresh Seasonally
Check for weeds monthly, pulling them by hand before they seed. I find that a 10-minute weekly inspection keeps the beds looking pristine without requiring heavy maintenance. In late fall, I remove any dead foliage and add fresh mulch, then let the winter rains do the rest. By spring, the plants are already pushing new growth, and the pollinators return in force.
Every 3-4 years, I refresh the design by rotating a few stones or adding new varieties of pollinator-friendly plants. This keeps the bed looking dynamic while maintaining its function as a wildlife corridor. The key is to observe what thrives—some years, black-eyed Susans take over, while others, bee balm becomes the star. I just let nature guide the palette.
Tips & tricks for perfect stepping stone flower beds
A few strategic approaches will transform your stepping stone garden from ordinary to extraordinary—and keep it thriving for seasons to come.
Design Tip: Real talk: The 18-24 inch spacing between stones in Step 1 isn't just about movement—it's about creating microclimates. Wider gaps (24 inches) allow more sunlight to reach plants between stones, while tighter spacing (18 inches) creates cozy pockets for shade-loving perennials. I often use the wider spacing for sun-loving native wildflowers and the tighter spacing for lavender and sedum, which appreciate slightly cooler roots.
Installation Insight: Don't make my mistake: When installing stepping stones in Step 2, use a level to check each stone as you place it. Even a slight tilt can cause water to pool and create uneven wear over time. I've seen beautiful beds ruined by stones that became tripping hazards after just one rainy season. Pro tip: Tap each stone firmly but evenly—you want them secure, not vibrating loose when walked on.
Plant Selection Strategy: The 6-12 inch spacing for companion plants in Step 3 is flexible, but here's what I've learned: Space taller plants like black-eyed Susans toward the outer edges where they won't compete with the stones for visual impact. For ground covers like sedum, plant them closer (6 inches apart) to create that lush, seamless look between stones. And always group plants by water needs—don't mix drought-tolerant lavender with thirsty bee balm.
Maintenance Hack: That 2-3 inch mulch layer in Step 4 isn't just decorative—it's your weed barrier and temperature regulator. I've found that shredded bark mulch breaks down more slowly than pine needles, so it lasts longer between refreshes. For extra weed suppression, I like to sprinkle a thin layer of gravel around the edges of the bed before adding mulch. This creates a natural barrier that keeps mulch contained and makes future weed pulling even easier.
Pro Tips for Stepping Stone Flower
- A few strategic approaches will transform your stepping stone garden from ordinary to extraordinary—and keep it thriving for seasons to come.
- Design Tip: Real talk: The 18-24 inch spacing between stones in Step 1 isn't just about movement—it's about creating microclimates.
- Installation Insight: Don't make my mistake: When installing stepping stones in Step 2, use a level to check each stone as you place it.
Frequently asked questions
Got questions about creating or maintaining stepping stone flower beds?
Here are some of the most common ones—plus quick, practical answers to help you design a thriving pollinator haven with ease!
What’s the best spacing for stepping stones in a flower bed?
For a natural look, space stepping stones 12–18 inches apart (center-to-center) to allow room for plants and easy foot traffic. If using them purely for aesthetics (no walking), you can stretch this to 2–3 feet for a more open, meadow-like vibe. Pro tip: Use a string line and stakes to mark spacing before digging!
How long does it take for stepping stone flower beds to establish?
Most perennials and ground covers take 1–2 years to fully establish, but you’ll see color and pollinator activity within the first 6–12 months. Annuals (like cosmos or zinnias) bloom faster but require replanting yearly. Patience pays off! The first year focuses on soil health—mulch well to retain moisture and suppress weeds.
Which plants attract the most pollinators to stepping stone beds?
Prioritize native plants like bee balm, coneflowers, milkweed, and black-eyed Susans—they’re pollinator magnets! For year-round interest, mix in spring bulbs (daffodils), summer blooms (lavender), and fall/winter options (sedum, ornamental grasses). Avoid pesticides, and you’ll see bees, butterflies, and hummingbirds in no time!
Are there budget-friendly alternatives to traditional stepping stones?
Skip store-bought stones and use:
- Recycled materials: Broken concrete, bricks, or even flat river rocks (check local waterways or construction sites).
- Natural elements: Log rounds, large pinecones, or slabs of wood (untreated, of course!).
- DIY options: Mix cement and gravel to create custom shapes, or repurpose old patio pavers.
Why are my stepping stone edges sinking or shifting over time?
This usually happens when the base layer (gravel/sand) isn’t compacted enough or erosion occurs from rain/watering. To fix it:
- Dig around the edges and repack the base with fresh gravel, tamping it down firmly.
- Add a border of landscape fabric under stones to prevent soil creep.
- For severe shifts, mortar the stones into place (temporary fix for high-traffic areas).
Wrapping up and next steps
Transforming your garden into a vibrant stepping stone flower bed isn’t just about beauty—it’s about creating a thriving ecosystem that supports pollinators while adding charm to your outdoor space. 🌸 With the right mix of season-long blooms, durable materials, and thoughtful design, you’ll enjoy low-maintenance color and a buzzing haven for bees, butterflies, and hummingbirds.
Ready to take the next step? Start small with a single bed or expand your vision—either way, your garden (and local pollinators) will thank you! Grab your tools and dive into the planting guide to bring your dream flower bed to life.