
Picking
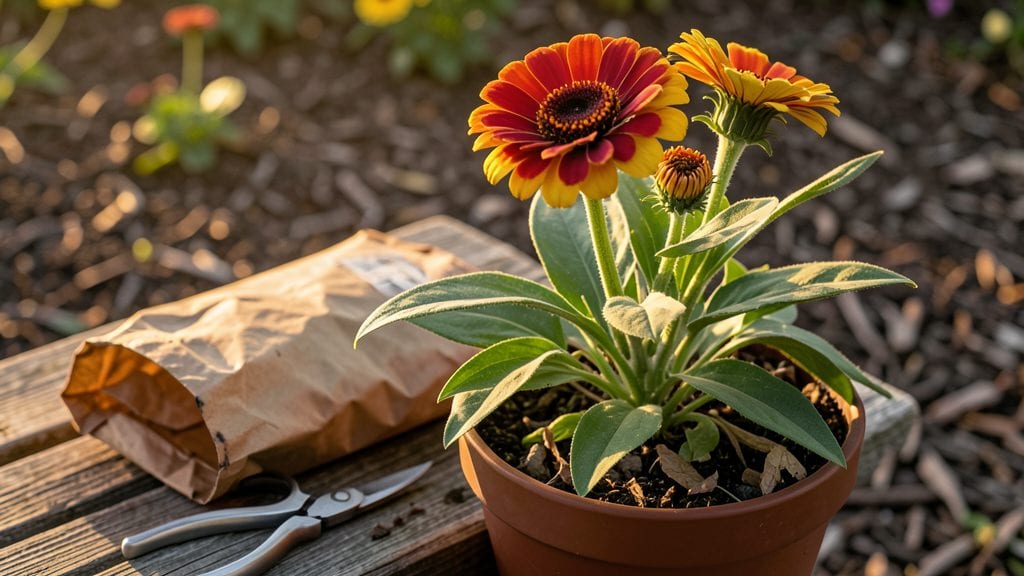
Harvesting seeds from flowers lets you grow next year’s garden for pennies. 🌻 I’ve saved seeds from marigolds, tomatoes, and sunflowers—each time, it’s like unlocking a free pass to the garden of my dreams.
The key is knowing when to pick them, how to dry them properly, and which flowers are easiest to work with.
You’ll need just a few simple tools: small paper bags, a pair of scissors, and a dry, dark place to cure seeds. Timing matters—wait until the seed pods turn brown and start splitting open, or the flowers fade completely.
Common flowers like zinnias, cosmos, and snapdragons are perfect for beginners, while tomatoes and peppers reward patience with plump, fertile seeds.
The process transforms ordinary blooms into future plants. Store dried seeds in airtight containers labeled with the variety and date—properly stored, many stay viable for years. Imagine walking through your garden next spring, plucking seeds from last year’s favorites instead of buying new ones.
Even experienced gardeners make mistakes—like harvesting too early or storing seeds in humid conditions. But once you master it, seed saving becomes a rewarding cycle of growth, harvest, and renewal. Ready to turn your garden into a seed bank?
📚 In This Guide
- What you need
- Instructions
- Tips and common mistakes
- Wrapping up and next steps
What you need
- ● Flowers in bloom: Choose healthy, mature flowers (ensure they’re fully developed and free of pests/diseases).
- ● Clean, sharp scissors or pruning shears: A pair with bypass blades (for precision cuts) or anvil blades (for tougher stems). Quantity: 1 pair.
- ● Paper bags or breathable seed envelopes: Brown paper bags (1–2 per flower type) or kraft paper envelopes (pre-labeled with plant names). Tip: Poke small holes for airflow!
- ● Drying rack or clean, flat surface: A wire mesh screen, baking sheet, or even a cardboard box lined with newspaper. Size: Large enough to spread seeds in a single layer.
- ● Small paintbrush or cotton swabs: For gently dislodging stubborn seeds from flower heads.
- ● Permanent marker or labels: Waterproof labels to tag seed types (e.g., “Marigold – 2024”).
- ○ Fine-mesh sieve or sifter: Optional but handy for separating seeds from chaff (e.g., a 1/8-inch mesh works well).
- ● Glove: A lightweight gardening glove to protect hands from prickly stems or sap.
- ● Magnifying glass: For inspecting tiny seeds or identifying flower parts.
- ● Humidity-controlled storage: Airtight containers with silica gel packets for long-term seed storage.
- ● Digital scale: To weigh seeds for accurate planting ratios (e.g., 0.1 oz increments).
- ● Notebook: For logging harvest dates, seed viability notes, or germination tests.
Step-by-Step guide to harvesting seeds from flowers
Here's how to collect viable seeds from your garden blooms—no fancy tools required.
🌱 Step 1: Wait for Flowers to Fully Mature
Let the flowers bloom completely and then fade naturally. The seed pods form after petals drop, and you'll see them as small bulges where the flower once sat. I know it's tempting to harvest early, but immature seeds won't germinate. Wait until the pods turn brown or dry out—this usually takes 4-8 weeks depending on the plant.
Check pods daily during the last week of ripening. Gently squeeze one between your fingers—if it crumbles easily, it's ready. If it feels firm, give it another day or two. Some flowers, like zinnias, pop open when dry, so watch for that too.
🌿 Step 2: Collect Seeds at the Right Time
Harvest seeds on a dry morning after the dew has evaporated. Use clean, dry hands or a small paper bag to avoid moisture or contamination. For flowers with dry seed pods (like marigolds or sunflowers), wait until the pods turn completely brown and crispy before opening them. If the pods are still green or moist, they're not ready.
For flowers that release seeds when touched (like poppies), place a paper bag over the flower head and gently shake it to catch the seeds. I always label my bags with the plant name and harvest date—seeds lose viability after 1-2 years, so fresh is best.
✂️ Step 3: Clean and Dry the Seeds
Spread the collected seeds on a clean, dry surface like a paper towel or mesh screen. Let them dry in a warm, well-ventilated area for 3-5 days. Stir them gently once or twice daily to ensure even drying. Avoid direct sunlight, which can overheat and damage the seeds.
To remove chaff (the dry plant debris), place the seeds in a bowl of water. Good seeds will sink to the bottom, while empty or damaged seeds will float. Scoop out the floating debris, drain the water, and let the seeds dry completely on a paper towel for another 1-2 days before storing.
🪴 Step 4: Store Seeds Properly for Long-Term Viability
Once fully dry, store seeds in a cool, dark place like a sealed envelope or small glass jar. Add a packet of silica gel or a few grains of uncooked rice to absorb moisture. Label each container with the plant name and harvest date—this helps track freshness. Most seeds stay viable for 1-5 years, depending on the species.
For long-term storage, place seeds in the refrigerator or freezer. I keep mine in labeled ziplock bags with a small silica packet inside. Check them every few years—older seeds may not germinate as well, but they're still useful for experimenting.
Tips & tricks for perfect flower seed harvesting
Here's what I've learned after harvesting seeds from hundreds of different blooms—these little tricks make all the difference between viable seeds and wasted effort.
Timing is Everything: In Step 1, when waiting for those 4-8 weeks, don't just count days—watch for the pods to develop that distinctive papery texture. I've ruined batches by harvesting too early because the pods still felt firm. For flowers like sunflowers, you'll know they're ready when the back of the pod turns yellow and starts to crack open naturally. This visual cue is more reliable than just counting weeks, especially in unpredictable weather.
Harvest Strategy: For Step 2, I've found that using a small paintbrush instead of your hands works wonders for delicate flowers. Gently brush the seed heads into your paper bag—this prevents crushing seeds and gives you more control, especially with flowers like cosmos that have tiny, lightweight seeds. And here's a pro move: harvest on a dry morning, but bring a small fan along if you're working with particularly dry pods. A gentle breeze helps release seeds from pods without damaging them.
Drying Secrets: When it comes to Step 3's 3-5 day drying period, don't be tempted to rush it. I learned the hard way that seeds dried too quickly (like in direct sunlight) lose viability. Instead, I use a mesh screen over a cardboard box—it creates airflow without direct sun exposure. For the water float test, I add a drop of dish soap to the water to break surface tension, making it even easier to scoop out floating debris. This little trick keeps your good seeds from sticking to the sides of the bowl.
Storage Hacks: In Step 4, I've found that vacuum-sealed bags work even better than ziplock bags for long-term storage. The vacuum removes all oxygen, which extends viability beyond the typical 1-5 years. For labeling, I use masking tape and a permanent marker—it's waterproof and won't fade like regular paper labels. And here's my favorite trick: I store a small piece of chalk with each seed packet. When I'm ready to plant, I can draw directly on the soil with the chalk to mark where I've sown!
Pro Tips for Harvest Seeds From Flowers
- Here's what I've learned after harvesting seeds from hundreds of different blooms—these little tricks make all the difference between viable seeds and wasted effort.
- Timing is Everything: In Step 1, when waiting for those 4-8 weeks, don't just count days—watch for the pods to develop that distinctive papery texture.
- Harvest Strategy: For Step 2, I've found that using a small paintbrush instead of your hands works wonders for delicate flowers.
Frequently asked questions
Got questions about harvesting seeds from flowers?
You’re not alone! Whether you’re a beginner or a seasoned gardener, these common queries can help you troubleshoot and succeed. Here’s what you need to know:
When is the best time to harvest flower seeds?
The ideal time depends on the flower, but generally, harvest seeds when the flower head browns or the seed pod turns dry and papery—usually 4–8 weeks after blooming. For example, marigolds and zinnias are ready when their centers dry out, while tomatoes (technically fruits) should be fully ripe and slightly shriveled before seed collection.
How do I know if seeds are mature enough to harvest?
Mature seeds are dry, hard, and dark-colored (not green or moist). Gently squeeze the seed pod—if it cracks easily or seeds fall out, they’re ready! For extra assurance, check the flower’s seed-saving guide (many plants have specific cues, like split pods or curled leaves). Avoid harvesting if seeds feel damp or sticky.
What if my flower seeds won’t dry properly?
Humidity or rain can ruin seed harvests. If seeds stay moist, try drying them indoors on a paper towel or mesh screen in a warm, dry place (like a sunny windowsill). For stubborn cases, use a dehumidifier or a fan to speed up drying. If mold appears, discard the batch—contamination can harm future plants.
Can I save seeds from hybrid flowers?
Hybrid flowers (like many store-bought varieties) often won’t grow true to type from saved seeds. To ensure reliable results, focus on heirloom or open-pollinated flowers (e.g., sunflowers, cosmos, or snapdragons). If you’re curious, experiment with hybrids—you might discover fun surprises!
How should I store harvested seeds for next year?
Store seeds in a cool (35–40°F), dry place (like a fridge or seed vault) in paper envelopes or airtight containers with silica gel packets. Label each with the plant name and harvest date. Most seeds stay viable for 1–5 years, but some (like lettuce) lose potency after just 6 months.
Wrapping up and next steps
Harvesting seeds from flowers is a rewarding way to preserve nature’s bounty and grow your own plants for free! With the right tools, patience, and a little know-how, you can turn blooms into future gardens.
Whether you're saving heirloom varieties or experimenting with new species, every seed you collect is a promise of growth—just waiting for the perfect moment to sprout.
Now that you’re equipped with the steps and tips, take the plunge! Start with a single flower you love, practice your timing, and soon you’ll be a seed-saving pro. Share your harvest with fellow gardeners or replant it—the world needs more green thumbs like yours! 🌱