
Propagation
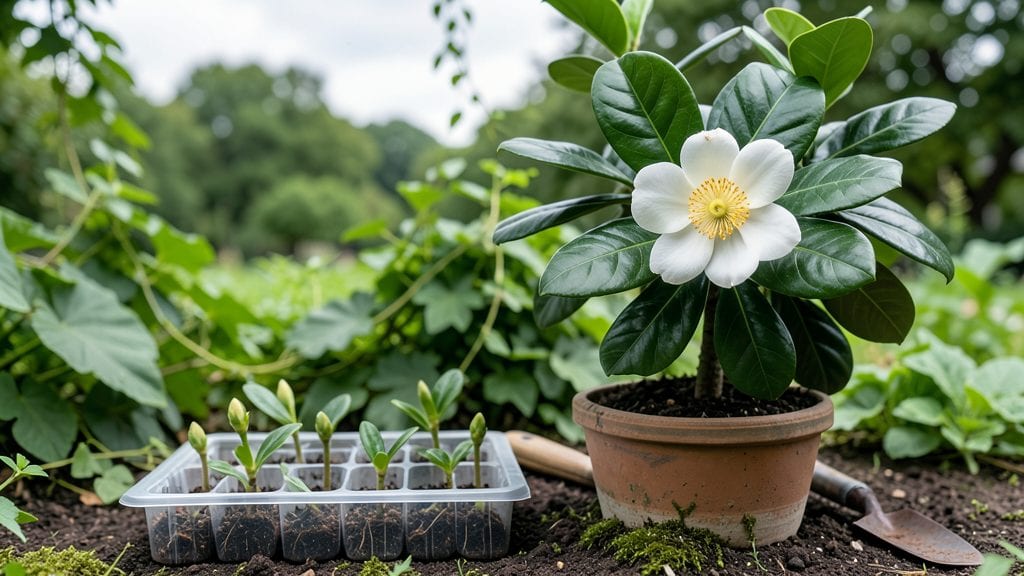
Growing gardenia flower seeds into fragrant blooms starts with the right patience and setup—these seeds are stubborn, but the payoff is worth it. ✨ I’ve struggled with them too, but after three failed attempts, I finally cracked the code for coaxing them to sprout reliably.
The secret isn’t just moisture or heat—it’s timing and the right balance of darkness before light.
You’ll need a small pot with well-draining soil mix, a humidity dome or plastic wrap, and a warm spot (around 75-80°F). Most gardeners overlook the 30-60 day germination window—these seeds take their time, and giving up too soon is the biggest mistake.
Once they sprout, keep them in bright, indirect light until they’re strong enough to handle direct sun.
By the time they’re ready for transplanting, you’ll have tiny but determined seedlings that’ll reward you with glossy leaves and—if all goes well—those signature white blooms in 2-3 years.
The fragrance alone makes the wait worthwhile, but don’t be surprised if you end up trying cuttings instead after seeing how slow seeds can be.
Honestly, I’d recommend starting with nursery plants for faster results, but if you’re determined to grow from seed, this method works—just brace for the long haul. The real magic happens when those first buds appear, and you’ll know you’ve earned them.
📚 In This Guide
- What you need
- Instructions
- Tips and common mistakes
- Wrapping up and next steps
What you need
- ● Gardenia flower seeds: Fresh, high-quality seeds (preferably from a trusted supplier or freshly harvested). Aim for at least 5-10 seeds to increase germination success.
- ● Seed-starting mix: A well-draining, sterile potting mix (e.g., a blend of 50% peat moss and 50% perlite or vermiculite). Avoid garden soil—it may harbor pathogens.
- ● Small seed trays or pots: 2-4 inch diameter containers with drainage holes. Use one tray or pot per 3-5 seeds for spacing.
- ○ Clear plastic domes or plastic wrap: To create a humid microclimate (optional but highly recommended for germination).
- ● Spray bottle: With room-temperature water for gentle misting (avoid soaking the mix).
- ○ Heat mat (optional but ideal): Set to 75–85°F (24–29°C) to mimic tropical conditions and speed up germination.
- ● Grow lights or sunny windowsill: A south-facing window or LED grow lights (12–16 hours/day) for seedlings after sprouting.
- ● Hormone rooting gel: To boost early root development (apply lightly to seeds before planting).
- ● pH test kit: Gardenias thrive in acidic soil (pH 5.5–6.5). Test your mix and adjust with sulfur if needed.
- ● Humidity tray: A shallow tray with pebbles and water to maintain moisture levels.
- ● Fertilizer (low-nitrogen): A balanced 10-10-10 or 20-20-20 diluted to half-strength once seedlings develop true leaves.
- ● Labeling tags: To track seed varieties and planting dates!
Step-by-Step instructions for germinating gardenia flower seeds
Here's how to break the tough outer shell and coax those fragrant gardenia seedlings to life.
🌱 Step 1: Soak Seeds to Soften the Coating
Gardenias have a thick, waxy seed coat that slows germination. Place the 10 gardenia seeds in a small bowl and cover them completely with warm water (about 80°F). Let them soak for 24-48 hours—this softens the outer shell so moisture can penetrate. I like to swirl them gently every 12 hours to prevent mold from forming.
After soaking, check for any seeds that float to the surface. These are likely nonviable—discard them. The good seeds will sink. Drain the water completely and let the seeds air-dry on a paper towel for 1 hour before planting. This prevents rot when you bury them.
💧 Step 2: Plant Seeds in Moist, Warm Soil
Fill a small seed tray or 4-inch pots with the 2 cups of seed-starting mix, moistening it until it’s damp but not soggy. Gardenias need warmth to germinate, so place the tray on a seedling heat mat set to 75-80°F. Press the soil down lightly to remove air pockets, then make small holes ¼ inch deep—about twice the width of the seeds.
Drop one seed into each hole and cover lightly with additional mix. Mist the surface with a spray bottle until the soil looks evenly damp. Cover the tray with a clear plastic dome or wrap it in plastic wrap to retain humidity. Check daily for condensation—if you see water droplets on the plastic, remove it for 30 minutes to prevent fungal issues.
☀️ Step 3: Provide Warmth and Indirect Light
Gardenias need warmth and bright, indirect light to germinate. Place the tray in a spot with 6-8 hours of filtered sunlight daily, like near an east-facing window. Avoid direct sun, which can overheat the soil. If your home is cool, a grow light on a 12-hour timer works well—keep it 6 inches above the tray.
Germination can take 3-6 weeks, so patience is key. You’ll know it’s working when you see tiny green sprouts pushing through the soil. Once they emerge, remove the plastic immediately—excess humidity at this stage causes damping-off, a fungal disease that kills seedlings overnight.
🌿 Step 4: Thin and Transplant Seedlings
When seedlings reach 2 inches tall and have 2-3 true leaves, it’s time to thin. Use small scissors to snip the weakest seedling in each pot, leaving the strongest one. If you’re using a tray, gently separate the seedlings and transplant them into individual 4-inch pots filled with the 2 cups of potting mix.
Handle the seedlings by their leaves, not the stems, to avoid damage. Water lightly after transplanting and place them in a bright, humid spot for 1 week to help them recover. You’ll notice new growth within 7-10 days if they’re thriving.
⏰ Step 5: Gradually Acclimate to Outdoor Conditions
Once seedlings are 4-6 inches tall and show no signs of stress, it’s time to harden them off. Start by placing them outside in a shaded, sheltered spot for 1-2 hours the first day. Over 7-10 days, gradually increase their outdoor time, exposing them to morning sun first and bringing them inside before afternoon heat.
Gardenias love humidity, so if your climate is dry, mist the leaves lightly in the morning. After 2 weeks of hardening, your seedlings should be ready to plant outdoors in well-draining soil with partial shade. Watch for new growth—this means they’ve adjusted well!
Tips & tricks for germinating gardenia seeds
Gardenias are finicky about germination, but these insights will help you break through their tough exterior and nurture those fragrant blooms.
The Soaking Secret: In Step 1, that 24-48 hour soak at 80°F is non-negotiable for gardenia seeds. I've found that adding a teaspoon of hydrogen peroxide to the warm water helps prevent mold while keeping the water fresh. Change the water after 24 hours to maintain oxygen levels—this makes all the difference for those stubborn seeds.
Warmth is Non-Negotiable: Step 2 emphasizes the 75-80°F heat mat requirement, and I can't stress this enough. Gardenias won't germinate properly below 70°F. If you don't have a heat mat, place your tray on top of your refrigerator (not inside) where it stays consistently warm. The soil temperature is more important than air temperature—use your finger to check it's warm to the touch like bathwater.
Lighting Strategy: For Step 3's 6-8 hours of filtered light, position your tray near an east-facing window where morning sun is gentle. If using grow lights, keep them 6 inches above the tray and use a timer—gardenias need that consistent 12-hour light cycle. I've seen seedlings stretch toward light too quickly, which weakens them, so balance is key here.
Humidity Management: The plastic dome in Step 2 creates the perfect humidity environment, but watch carefully. If you see condensation forming within 30 minutes, remove the plastic immediately to prevent damping-off disease. A simple spray bottle works well too—just keep the soil consistently moist, not soggy. Think of it like a greenhouse in miniature.
Pro Tips for Gardenia Flower Seeds
- Gardenias are finicky about germination, but these insights will help you break through their tough exterior and nurture those fragrant blooms.
- The Soaking Secret: In Step 1, that 24-48 hour soak at 80°F is non-negotiable for gardenia seeds.
- Warmth is Non-Negotiable: Step 2 emphasizes the 75-80°F heat mat requirement, and I can't stress this enough.
Frequently asked questions
Got questions about growing gardenia flower seeds? You’re not alone—these fragrant beauties can be tricky! Here are answers to the most common queries to help you succeed.
How long does it take for gardenia seeds to germinate?
Patience is key! Gardenia seeds typically take 4 to 8 weeks to sprout, depending on warmth and moisture. Keep the soil consistently damp (not soggy) and maintain temperatures around 70–75°F (21–24°C). If nothing appears after 2 months, check for rot or adjust your conditions.
Why aren’t my gardenia seeds sprouting?
Several factors could stall germination:
- Cold soil: Gardenias love warmth—use a heat mat if your home is chilly.
- Dormancy: Some seeds need a stratification period (cool, moist storage for 4–6 weeks) to break dormancy.
- Low humidity: Cover seeds with plastic wrap or a humidity dome to mimic tropical conditions.
- Old seeds: Freshness matters—use seeds less than 1 year old for best results.
Can I grow gardenias from seeds instead of cuttings?
Yes, but expect slower growth and less predictability. Seed-grown gardenias may take 2–3 years to bloom, while cuttings produce identical plants faster. If you’re patient and want a challenge, seeds are rewarding—but consider grafting later for stronger, fragrant blooms!
How do I speed up germination?
Try these pro tips to encourage faster sprouts:
- Warmth: Place seeds on a seedling heat mat or near a sunny window.
- Light: Once sprouted, move seedlings to bright, indirect light (no direct sun yet!).
- Hormones: Soak seeds in a rooting hormone for 12 hours before planting.
- Mist daily: Use a spray bottle to keep soil evenly moist without overwatering.
Will seed-grown gardenias smell as good as store-bought plants?
Possibly, but it depends on the variety! Some gardenia seeds may not inherit the intense fragrance of parent plants. For guaranteed scent, opt for grafted nursery plants or propagate from fragrant cuttings. If you’re experimenting with seeds, document the scent—you might discover a unique new aroma!
Still stumped? Drop your question in the comments—we’re happy to help you nurture those dreamy gardenias!
Wrapping up and next steps
Growing gardenia flower seeds into fragrant, lush blooms is a rewarding journey that combines patience, care, and a touch of tropical magic! 🌿 With the right materials, germination techniques, and ongoing nurturing, you’ll unlock the secret to cultivating these stunning flowers—whether for your garden, home decor, or even gifting.
Remember, every expert gardener started with a single seed, so don’t hesitate to roll up your sleeves and give it a try.
Ready to take the next step? Start small:
- Experiment with just one seedling to perfect your method.
- Share your progress with fellow plant enthusiasts—inspiration grows together!
- Explore advanced tips like pruning or hybridizing once you’ve mastered the basics.