
Fertilization
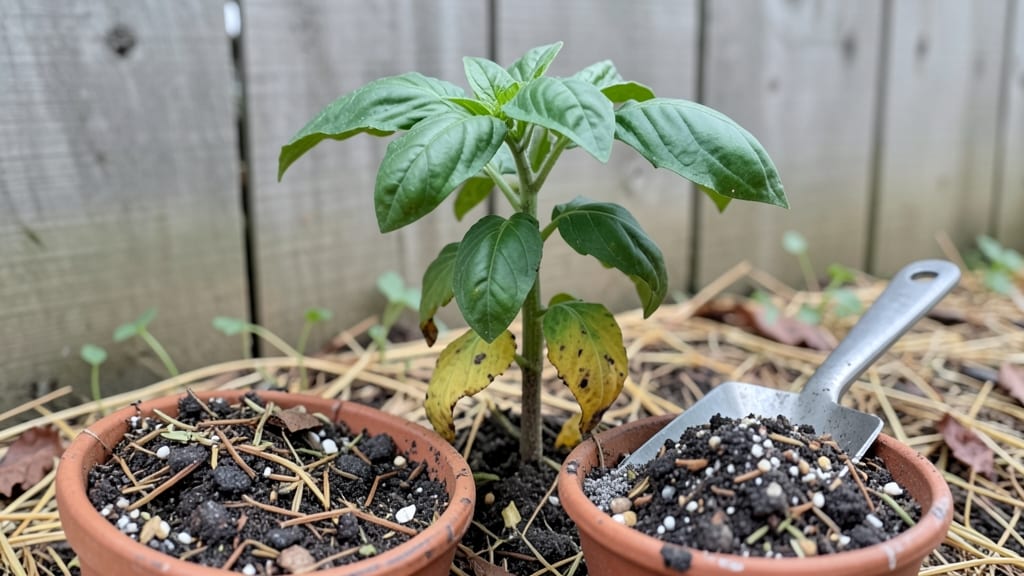
Homemade flower fertilizer cuts costs and supercharges blooms without harsh chemicals. 🌸 I used to buy expensive bloom boosters until I discovered how banana peels, eggshells, and coffee grounds create a nutrient-packed alternative that actually outperforms store-bought options.
The best part? It takes less than 15 minutes to prepare and costs pennies per gallon.
This isn't just about throwing scraps in a bucket—it's about targeted nutrition. Banana peels provide potassium for vibrant flowers, crushed eggshells add calcium to prevent blossom-end rot, and coffee grounds lower soil pH for acid-loving blooms.
You'll need basic kitchen scraps, a blender or bucket, and a watering can—nothing fancy. The results? More buds, longer-lasting blooms, and a garden that smells like summer all season.
You'll notice the difference within 2-3 weeks of consistent use. Roses multiply their blooms, petunias stay lush instead of leggy, and even stubborn flowers like dahlias produce bigger, brighter flowers than before.
The secret is timing—apply it every 2-4 weeks during the growing season, and avoid overdoing it (more isn't better here).
Works for container gardens, raised beds, or in-ground plantings—just adjust the ratios for your space. Even apartment balconies benefit from this foolproof, organic approach. Ready to skip the chemical aisle and grow flowers that turn heads?
📚 In This Guide
- What you need
- Instructions
- Tips and common mistakes
- Wrapping up and next steps
What you need
- ● Banana peels – 3–4 peels (rich in potassium for vibrant blooms)
- ● Eggshells – 4–5 crushed (calcium source for strong stems)
- ● Coffee grounds – ½ cup (nitrogen boost for lush foliage)
- ● Wood ash – ¼ cup (potassium & pH balancer; use sparingly)
- ● Compost or worm castings – 1 cup (microbial magic for nutrient absorption)
- ● Water – 1 gallon (distilled or rainwater preferred)
- ● Blender or food processor (for grinding eggshells/peels)
- ● Fine-mesh strainer (to filter out solids)
- ● Spray bottle or watering can (for easy application)
- ○ Optional nutrients: Tea leaves (tannins for pest control)
- ● Aspirin (1 crushed tablet per gallon; anti-fungal)
- ● Epsom salt (1 tbsp; magnesium for chlorophyll)
Step-by-Step instructions for crafting a nutrient-rich flower fertilizer
Here’s how I make a powerful, organic bloom booster using simple household items—no store-bought chemicals needed.
🌿 Step 1: Gather and Prep Organic Materials
Start with 4 cups of fresh banana peels—they’re packed with potassium, which promotes vibrant blooms. Rinse and chop them into small pieces, then place them in a 1-gallon container with 2 cups of water. Let this steep for 7 days in a warm, dark spot. The peels will break down, releasing nutrients into the water.
Next, add 1 cup of used coffee grounds to another 1-gallon container with 2 cups of water. Coffee grounds are rich in nitrogen, which supports lush foliage before flowers form. Stir well and let it steep for 3 days. Strain both liquids through a fine mesh sieve or cheesecloth to remove solids.
💧 Step 2: Blend Nutrients for a Balanced Solution
Combine the strained banana peel tea and coffee grounds tea in a large mixing bowl. Add 1 tablespoon of unsweetened apple cider vinegar—this introduces trace minerals and lowers the pH slightly, making nutrients more available to plants. Stir thoroughly until fully integrated.
For extra phosphorus (critical for flowering), add 1 tablespoon of crushed eggshells to the mixture. Crush the eggshells finely—think powder consistency—and let them soak in the liquid for 24 hours. This ensures the calcium and phosphorus dissolve completely. The result should be a dark, slightly tangy liquid with a rich, earthy aroma.
☀️ Step 3: Dilute and Apply to Flowering Plants
Before using, dilute the mixture with 1 gallon of rainwater or distilled water. This balances the nutrient concentration—undiluted, it could burn tender roots. Pour the solution into a spray bottle for easy application. Use it on your flowering plants once every 2 weeks during the growing season, spraying the soil and lower leaves where roots absorb nutrients.
Watch for results within 3-4 weeks: leaves will darken slightly, stems will firm up, and buds will form more quickly. The key is consistency—don’t skip applications, and always use the diluted version. Over time, your flowers will bloom larger, last longer, and produce more vibrant colors.
⏰ Step 4: Store and Refresh for Ongoing Use
Store the remaining fertilizer in a sealed glass jar in the fridge for up to 2 weeks. Label it clearly—this isn’t just water, and you’ll want to use it before it spoils. Every 2 weeks, refresh the batch by repeating the banana peel and coffee grounds steeping process. This ensures you’re always working with fresh, potent nutrients.
Real talk: the first batch might smell strong, but the aroma fades as it sits. If you notice a foul odor, discard it and start fresh—this signals bacterial growth, which can harm your plants. Stick to the 7-day and 3-day steeping times to avoid this issue. Your flowers will thank you with nonstop blooms!
Tips & tricks for perfect homemade flower fertilizer
Here's what I've learned after perfecting this nutrient-rich solution—these tricks ensure you get the most vibrant blooms without any guesswork.
Steeping Strategy: The 7-day steep for banana peels and 3-day steep for coffee grounds are non-negotiable for maximum nutrient extraction. Place your containers in a warm spot like near your oven (when off) or under a heat lamp—the warmth accelerates nutrient release. I've seen some skip this step and wonder why their blooms aren't as dramatic. Trust me on this: patience pays off with deeper color and larger flowers.
Crushing Technique: When crushing eggshells in Step 2, aim for a fine powder consistency—think table salt rather than coarse granules. This ensures complete dissolution during the 24-hour soak. I use a clean coffee grinder for this step, but a rolling pin works too. The finer the powder, the more phosphorus your plants will absorb for robust blooming.
Storage Wisdom: That 2-week fridge storage window is crucial for maintaining potency. Use a glass jar with an airtight lid to prevent oxidation, which can degrade nutrients. I label mine with the date and a simple "Use within 2 weeks" note—this prevents me from forgetting about it (and potentially using spoiled fertilizer). For longer storage, you can freeze the fertilizer in ice cube trays for up to 3 months.
Application Timing: The once-every-2-weeks schedule in Step 3 is ideal, but adjust based on your plants' response. If you notice new buds forming quickly, you can extend to 3 weeks between applications. Always apply in the morning so the solution has time to absorb before evening temperatures drop. This timing maximizes nutrient uptake during peak plant activity hours.
Pro Tips for Flower Fertilizer Homemade
- Here's what I've learned after perfecting this nutrient-rich solution—these tricks ensure you get the most vibrant blooms without any guesswork.
- Steeping Strategy: The 7-day steep for banana peels and 3-day steep for coffee grounds are non-negotiable for maximum nutrient extraction.
- Crushing Technique: When crushing eggshells in Step 2, aim for a fine powder consistency—think table salt rather than coarse granules.
Frequently asked questions
Got questions about whipping up your own flower fertilizer? You’re not alone—homemade solutions can feel a little tricky at first! Here are answers to the most common queries to help you grow like a pro.
How often should I apply homemade flower fertilizer?
For most plants, apply homemade fertilizer every 4–6 weeks during the growing season (spring to fall). Over-fertilizing can burn roots, so dilute weaker mixtures (like coffee grounds or banana peels) and stick to stronger ones (like compost tea) every 2–3 weeks. Always water plants well before and after application!
Can I use expired or stale ingredients?
Fresh is best! Expired eggshells, old banana peels, or moldy coffee grounds can introduce bacteria or weaken nutrient potency. When in doubt, compost questionable ingredients first or toss them. For liquids like compost tea, use within 3–5 days in a sealed container to prevent spoilage.
What’s a quick fix if my flowers aren’t blooming?
Lackluster blooms often signal a nitrogen-phosphorus imbalance. Switch to a phosphorus-rich homemade mix: blend crushed eggshells + banana peels (for phosphorus) or brew a worm castings tea. Avoid high-nitrogen fertilizers (like grass clippings), which promote leafy growth over flowers.
Are homemade fertilizers safe for indoor plants?
Indoor plants thrive on diluted homemade fertilizers like aquarium water (rich in nitrogen) or green tea (light on nutrients). Just avoid strong-smelling or salty mixes (e.g., Epsom salt overuse), which can harm sensitive houseplants. Always test a small leaf first for reactions.
What’s the easiest no-fail homemade fertilizer?
For beginners, try compost tea—just steep 1 cup compost in 5 gallons warm water for 24 hours, strain, and pour around the base of plants. Or, crush eggshells into a powder and sprinkle into soil (adds calcium). Both are zero-waste and packed with nutrients!
Still stumped? Drop your specific plant type or ingredient concerns below—we’re happy to troubleshoot!
Wrapping up and next steps
Creating your own flower fertilizer at home is not only cost-effective but also empowering—you’re giving your plants the natural nutrients they crave! 🌸 With just a few simple ingredients like banana peels, eggshells, or coffee grounds, you can transform kitchen scraps into a thriving garden booster.
Whether you’re a seasoned gardener or just starting, these homemade solutions are easy, eco-friendly, and packed with benefits.
Ready to see your flowers bloom brighter? Start small—pick one recipe, test it on a few plants, and observe the difference! Over time, you’ll refine your green thumb and maybe even share your newfound expertise with fellow plant lovers. Happy gardening! 🌱